How to Edit YouTube Videos Quickly
Are you looking to become a content creator but don’t know how to edit videos? Read here for a quick guide on how to make your videos amazing.
If you’ve ever created any videos to post on YouTube, you’ve probably been on the hunt for an easier way to edit. Editing is one of the biggest woes for a creator. It’s time-consuming and difficult, and it can take a long time to really learn the ropes and develop a style that’s uniquely your own..
The last thing you want is for your dislike of editing to get in the way of you posting regular content and growing your audience. Posting on the reg is super important for maintaining engagement on your channel, so it’s important to prioritize that at all costs.
So today, we’ve come up with a quick guide on how to edit your YouTube videos quickly and easily. Whether you’re just starting out as a YouTuber or you’ve got some high-profile videos under your belt, with this beginner’s guide, you’ll be able to speedrun your edits with no problem and keep focusing on making the content that you love.
Which Editing Software Should You Use?
Without a doubt, the most important decision you make when it comes to editing videos is what video editor software you choose. It’s like deciding which keyboard to get, which graphics card to add to your PC build, or which monitor to put in your setup. It’s a central tool to your editing process, and there is a lot of variance out there that can really affect your experience.
The YouTube video editor may be quick and free, but there are much better options out there than that. With that in mind, let’s go through a couple of video editing tools that are out there and talk about the pros and cons of each.
iMovie
If you’ve got a Mac, iMovie is one of the best choices if you’re just starting out with video editing. It’s a free video editor that comes with any Apple device, making it a super easy and affordable option for creators who are in the early stages.
Like most Apple software, iMovie has a super easy-to-use and user-friendly interface. It’s not the most powerful video editing app in the world, but if you need a simple way to edit, this is a great place to start.
Adobe Premiere Elements
Many gamers aren’t keen on the Mac ecosystem, but don’t worry–we have plenty of PC suggestions for you Windows lovers out there too.
Adobe just has a knack for making killer software for creatives and creators. Premiere Pro is an industry-standard in video editing software right now; Premiere Elements is a simplified, less expensive version of that software.
With a simple interface, an online video creation wizard, tutorials, and three different editing modes, this option is just about perfect for beginners. It also has great audio features and makes it easy to overlay animations on your videos, which is a must-have function for the YouTube videos.
On top of that, you can get a free 30-day trial for Premiere Elements, so you can try it out for a month to make sure you like it before you make the full leap.
DaVinci Resolve
DaVinci is one of the foremost video editing software in the professional world. Pros use this as their bread and butter. The full version is an all-in-one software containing every function you could want or need, but the free version still offers some high-quality functionality and can even make videos in 4K.
Final Cut Pro or Premiere Pro
Lots of creators find a lot of success with iMovie but eventually get to a point in their editing skills where they need a little bit more power. If that’s you, make the upgrade to Final Cut Pro, the big brother of iMovie. The interface is super similar, so you’ll feel right at home. And you’ll have way more editing features than you did with iMovie.
The same goes for Adobe Premiere Elements and Adobe Premiere Pro. Premiere Pro is the larger, more sophisticated version of Elements. If you’ve been developing your skills and are ready to go to the next level, make this easy jump!
Filmora, Kapwing, and Others
We also know gamers who love and rely on softwares like Filmora and Kapwing to help them with quick edits–and want to make sure we mention them here too in case those fit your needs better. These are some of the best video editing software out there, so you’ll be in safe hands with these tools if you know how to use them.
How Do You Edit YouTube Videos?
Now that you’ve got a YouTube video editing software that fits your needs, it’s time to get editing. You may have to get a little bit sweaty, but if you put in the work and do it right, it can make a world of difference in how your YouTube channel looks and how engaged your followers are.
Here’s a quick step-by-step process on how to do some basic editing for your videos.
Before You Start, Back It Up
Before you even open your editing software, there is one crucial step you need to take, and that is to back up your video content! Pretty much every video creator or photographer has a story of the photos or videos getting lost in the universe, never to return — and we don’t want that to happen to you.
So make sure that there are copies of your content stored in multiple places. Here are a few places that host videos. A general good practice is to have one copy on an SD card, one on your computer, one on an external hard drive, and one on some form of cloud storage. This may sound like overkill, but you can never be too careful with your content!
While you’re backing it up, it helps to name all the shots and clips so that you can easily identify them later. Lots of creators use the YRMODA (year, month, day) system. So, for example, if you’re making a clip compilation of your best gaming moments, you might name a file “230831_ApexTripleKill.”
Upload Your Footage and Pick Your Music
Now, let’s get into workflow. First, put all your footage together in your editing software. Drag and drop all the video clips you want into the editing window in an orderly fashion, making sure to keep track of everything.
Once all your footage is together, pick some music to go over the video, if that’s something you want to do. Make sure that you use copyright-free music — otherwise, you risk your video getting demonetized. It might be helpful to sign up for a music library that will give you loads of unlicensed music for you to choose from.
Start With the Bulk
To make your life a little easier and more efficient, start editing the main section of the video before you do the intro and conclusion. This will help guide your process to eventually make your intro and conclusion more effective.
Start by making cuts and trims to your video. Cut out the fluff and the parts that your audience doesn’t need to see. Make sure your edits help keep the viewer’s attention.
When you’re filming, one helpful thing to do is to clap three times if you get interrupted or need to cut a piece of the video out. That audio marker will show up in the editing software, making it easy to pick out the part that needs to be chopped.
Once all that’s done, you can move on to cleaning up the intro and conclusion.
Add in the Extras
Now that you’ve got the base of your video, it’s time to add all the eye-catching special effects that make your video fun and engaging. This is where you’ll add the music, throw in any sound effects, create transitions, and include any fun animations — you can even include subtitles, if that’s your thing.
Make sure you don’t go too crazy with this step. Too many animations or sound effects can be a bit overkill and make your video too chaotic. Only keep the edits that enhance the viewing experience and help maintain attention.
After that, if you want to, you can do post-production things like adding a bit of color correction. This is also where you should create your thumbnail to help you stand out.
Export
Now that your video is done, it’s time to export. First, you’re going to want to make sure that the file is in MP4 form. Export the video file to your computer’s hard drive first, then export copies to your backups.
It will take some time for the video to render. Depending on the size and elements of the video, it could take hours. But once you’ve got the file, you’re ready to upload your video through YouTube Studio.
After it’s uploaded onto YouTube, make sure you add it to a playlist and put plenty of tags in the caption so that prospective viewers can find your video. It also helps to try out various video marketing strategies to help you increase your audience.
How Can You Gather Clips To Make a Video?
One of the difficulties of being a YouTuber is always having content to post. This is especially difficult for gaming streamers on Twitch who want to grow their YouTube following.
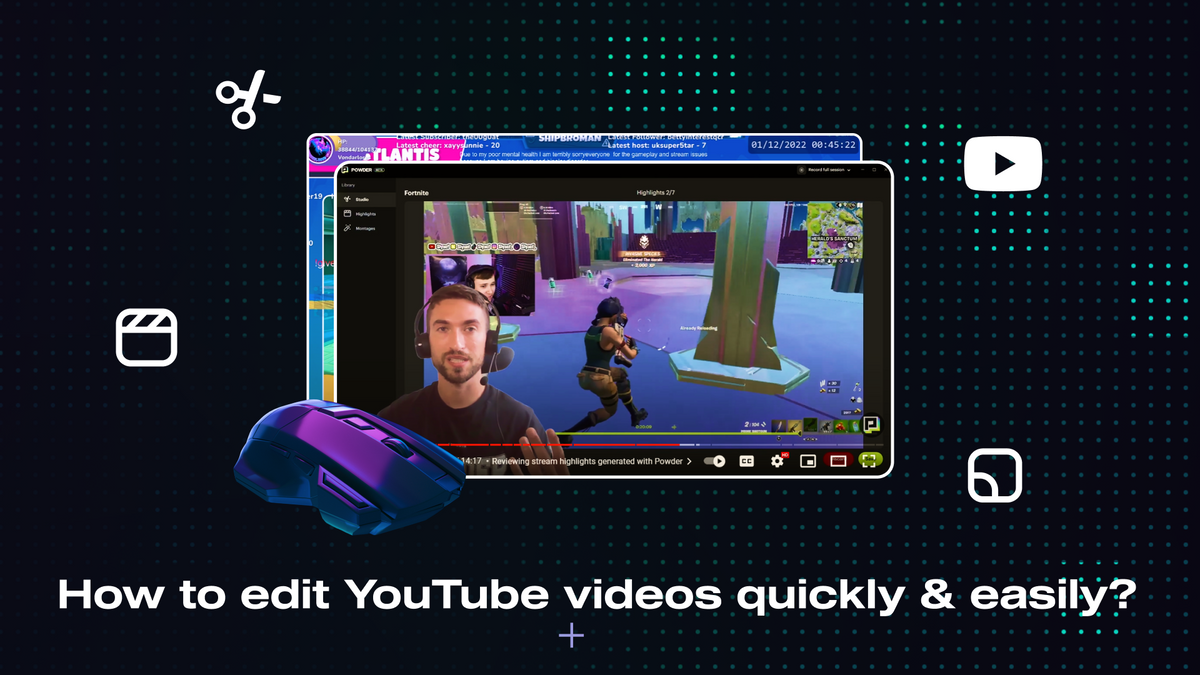
One way to make your life easier in that regard is the Powder app. Powder is an AI software that automatically detects clips in your streaming and gaming sessions. You’ll get all of your best moments as clips automatically. The short, shareable video will make it much easier for you to get the raw clips to import into your editing software.
Have Powder ready after your streams or gaming sessions, and you’ll always have a plethora of amazing clips to make into Reels, TikToks, clip compilations, tutorials, and more. No more worrying about forgetting to capture clips in the moment. Powder will do all that work for you so you can maximize your social media reach.
Plus, if you’re a streamer, you can use Powder to automatically comb through your hours of streaming footage to instantly create a highlight reel of all your most winning (or most memeable) moments. Even better, our software does all of this to make you a social-ready montage at the click of a button — no further editing required.
When To Hire an Editor
As you grow as a content creator, there will come a time when editing all your videos is no longer feasible. YouTubers have a lot of stuff to do, from planning content to creating it to managing brand deals. The list goes on and on.
At some point, there will be a time when you’ll need to hire an editor to do all the editing and upload videos for you. Obviously, this is the easiest and quickest way to edit your videos, but it’s not without cost. And even then, an AI software tool like Powder can save your video editor the tedium of reviewing all of your raw stream footage; Powder can provide them with the clips to stitch together into your signature style. Only you can decide when it’s worth it for you to hire an editor — but when you do, it will make it so much easier to put out quality videos quickly.
The Bottom Line
Now that you’ve got some tips and tricks on video editing, you’ve got everything you need to start making content and publishing to YouTube. But one of the most important things to remember is that it’s not going to be perfect. If you chase perfection as a YouTuber, you’ll be constantly dissatisfied.
Instead, do your best with editing, learn from your mistakes, and improve for the next video. You won’t be perfect, but you will have fun on the journey!
For more tips on being a creator and for tools that can help you along the way, check out our blog. And if you’re ready to take clips and make reels the easy way, get started with Powder PC today.
—
💡If you're a gamer, content creator, or video editor looking to save time and money clipping short, shareable highlights and creating montages from your latest gameplay sessions or long streams, get access to Powder for PC (Windows) now. Powered by AI.💡Learn more about Powder at our website or join our Discord, Twitter, Instagram, TikTok, and LinkedIn communities!